This
past weekend was my second “Build a Workbench in a Weekend” class
at Highland Woodworking. Five students and I put in two very full,
very busy days of work and produced 6
workbenches of the type shown
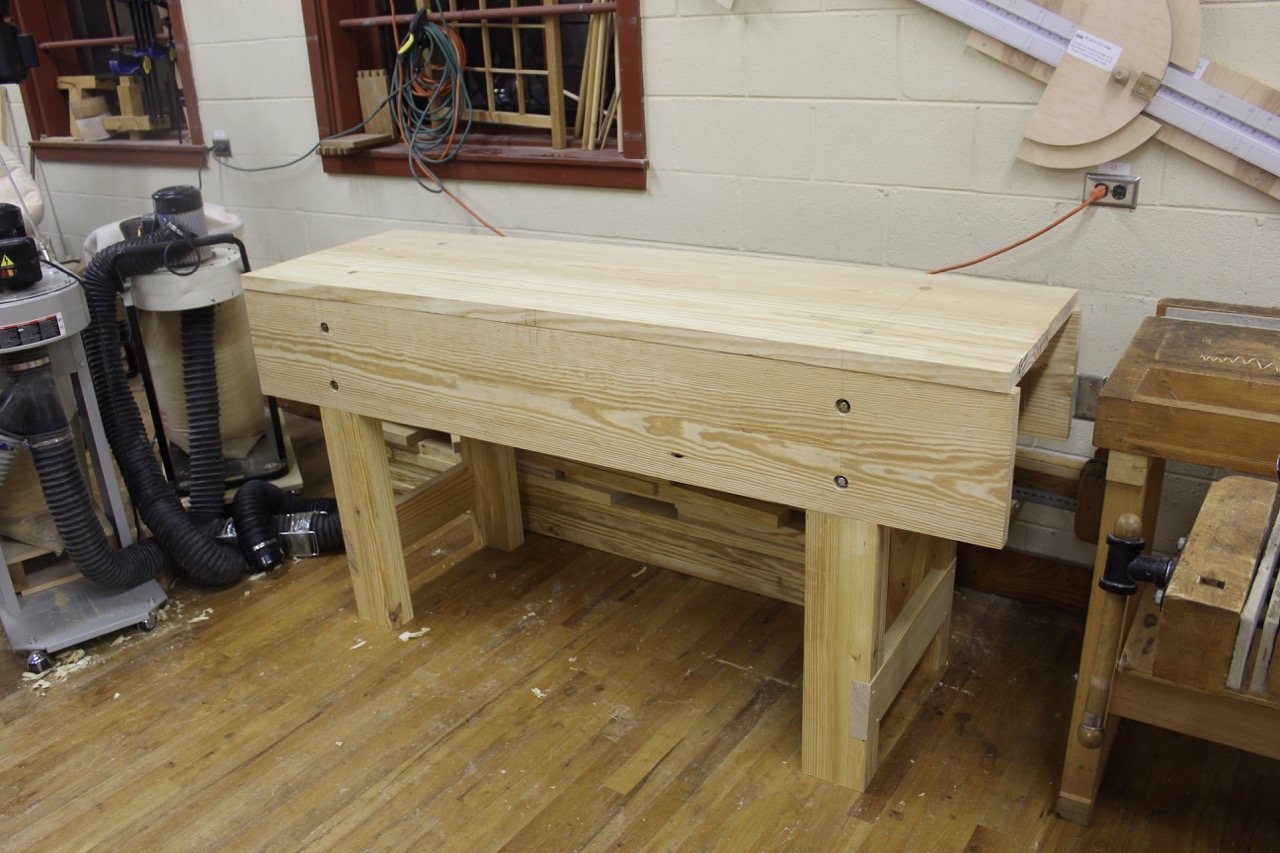
in a 2015 Popular Woodworking article. The finished bench, despite
being quick to disassemble, move, and reassemble, is heavy, rigid, and straightforward to mount a vise to. No vise? No problem. You can see all the ways this type of bench can be used without a vise in Mike Siemsen's video here. (Our bench doesn't have
a split top, but in terms of workholding that's a minor difference.)
Many
would-be woodworkers face the conundrum of building a workbench
without a workbench . . . sure would be handy to have a workbench to
build your workbench on! Mike Siemsen's “Naked Woodworker” video
shows a way to bootstrap it with a few tools & materials from a
home improvement center. I know that Mark Duginske is working on a
system where you start out by making a pair of clever, folding
sawhorses and building a bench on them. My first "real" woodworking
project was a bench I built by reinforcing an old plywood work table
that I had to reinforce more and more as I planed all the red oak by
hand. It built character . . . but slowly.
Since
this weekend's class was in Highland's legendary teaching shop, we
took full advantage not only of their workbenches, but also their
SawStop table saw, Festool Kapex chop saw with extension fences,
Rikon 16” bandsaw, Tormek grinder, etc. etc. etc. It also helps to
have one of the premier tool & supply retailers surrounding your
shop when you need another box of screws or drill bit.
Enough
yapping, here are some photos:
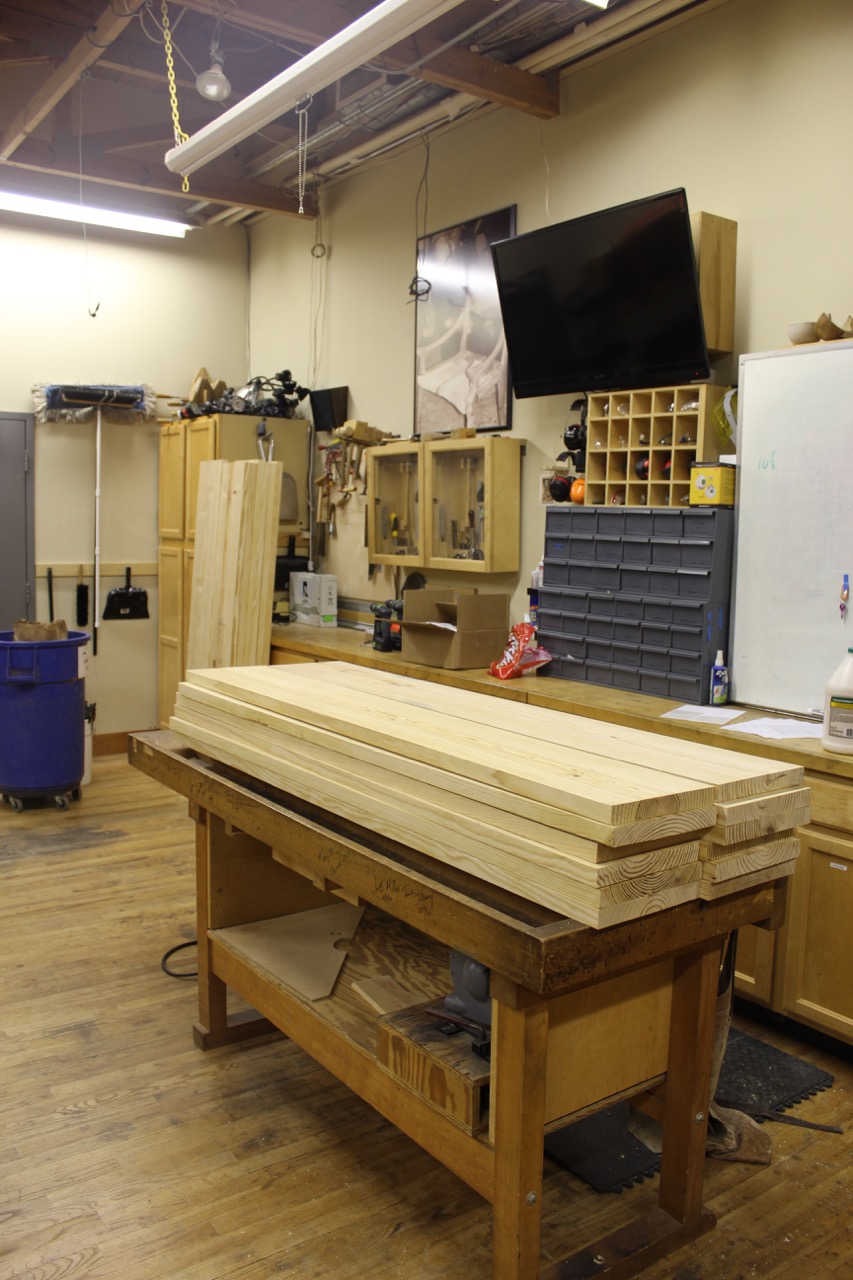
Side skirts on the bench, tops-to-be leaning against the cupboard behind them.

Properly picked and planed pine prevents poor performance!

The narrower boards become legs, stretchers and bracing.

While the students worked on other things, I glued up the tops between cauls. These are ugly but quite effective, and cut down on time spent flattening the tops after assembly.
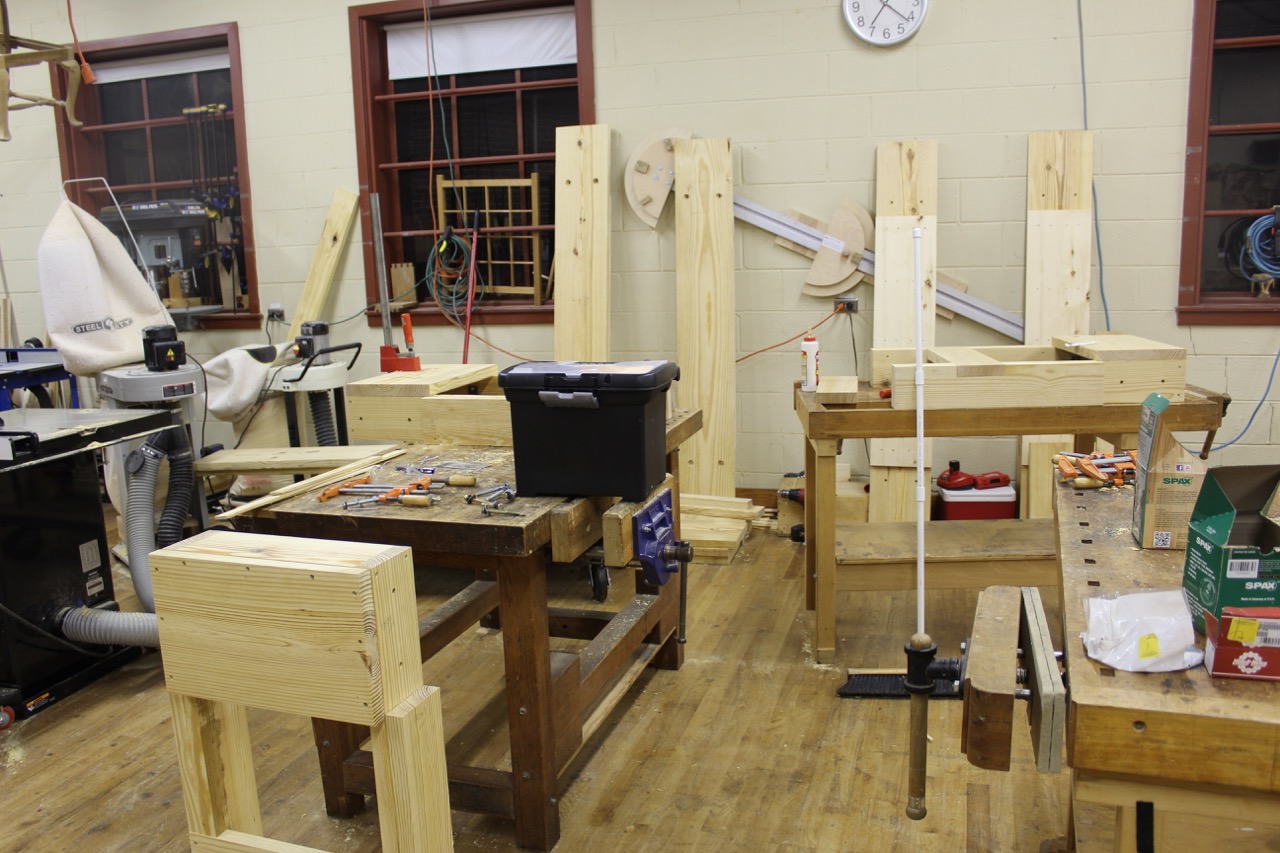
After Saturday they didn't look like much - - just some leg assemblies and sides put together. Having been through this project several times I was excited and pleased to see things coming together neatly and easily.
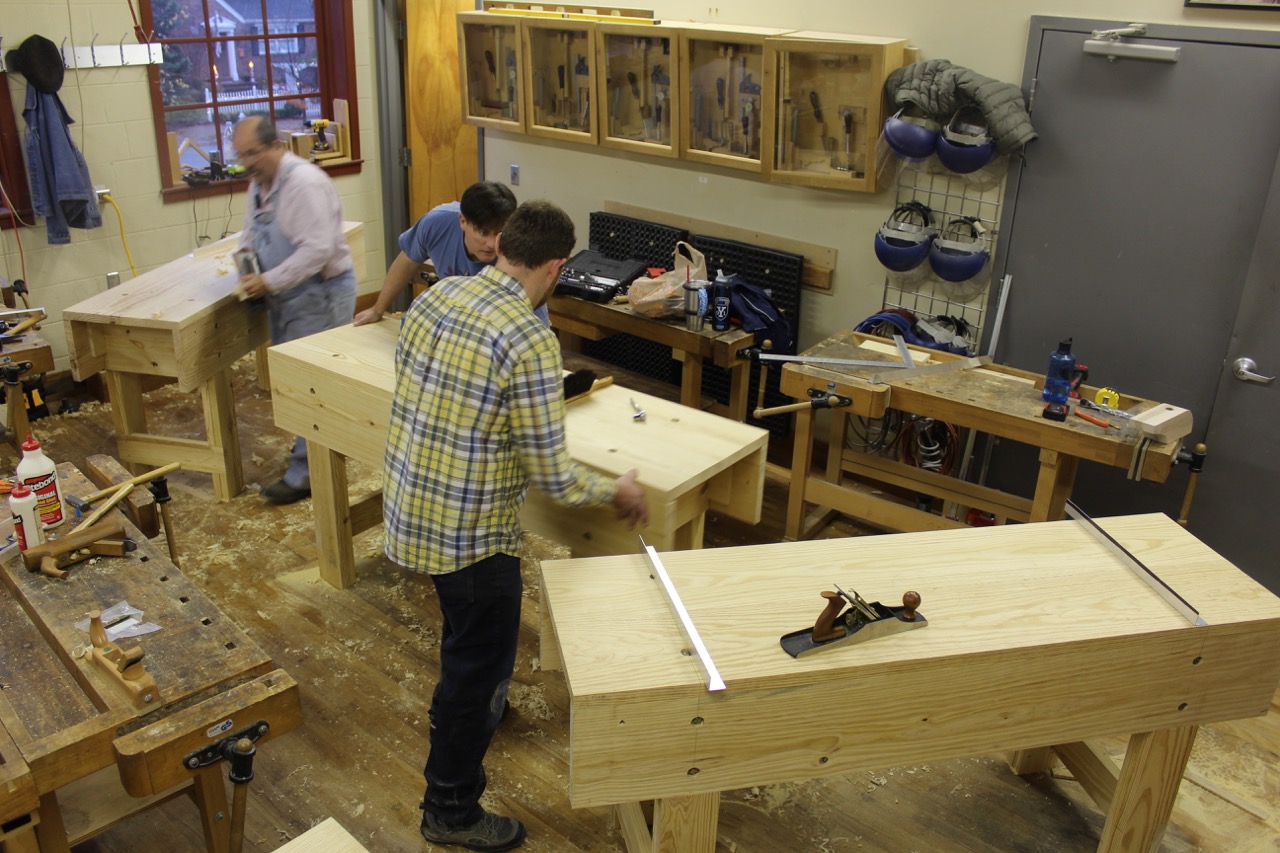
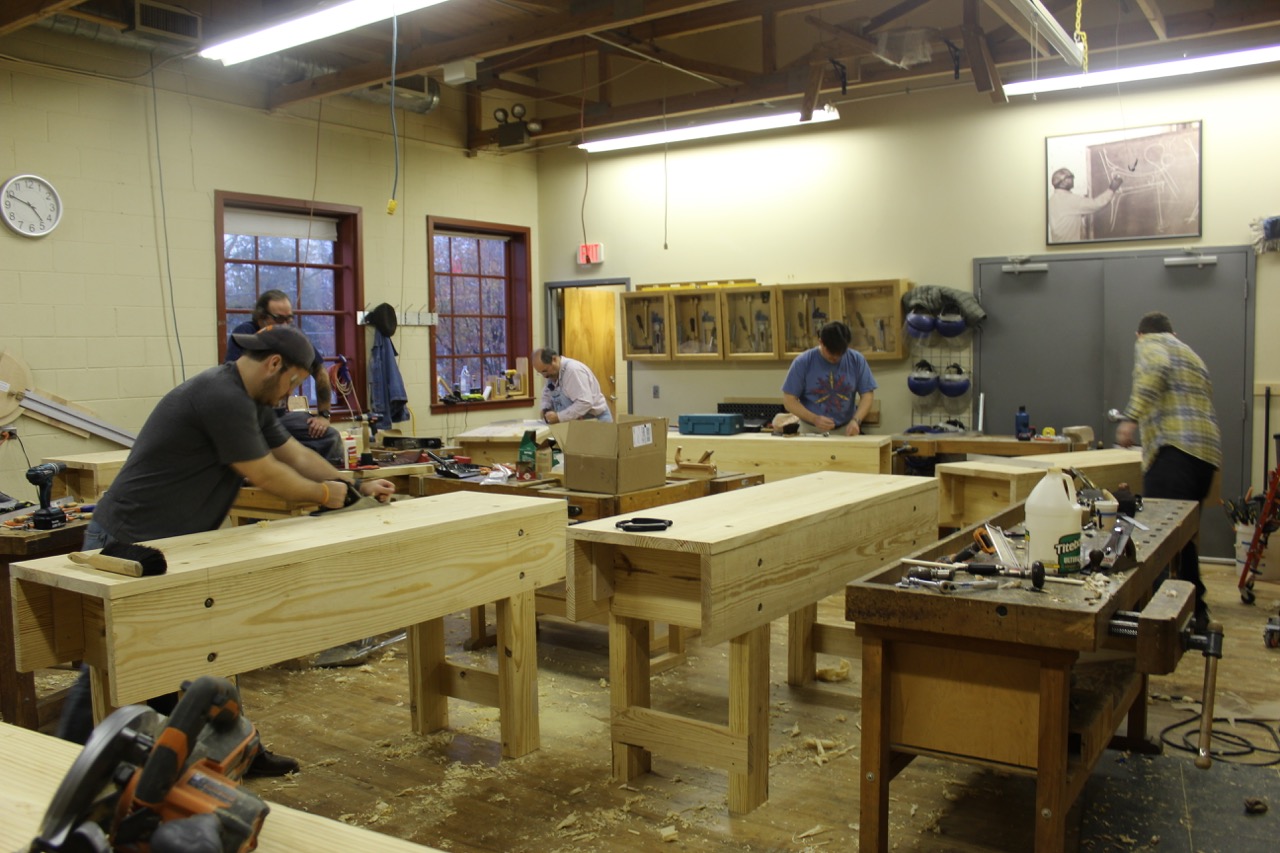
Sunday's work was a bit hectic, so I don't have photos of every step. But once things are assembled and we're all working on truing up the tops, the shop starts to look a little overpopulated as far as benches go!

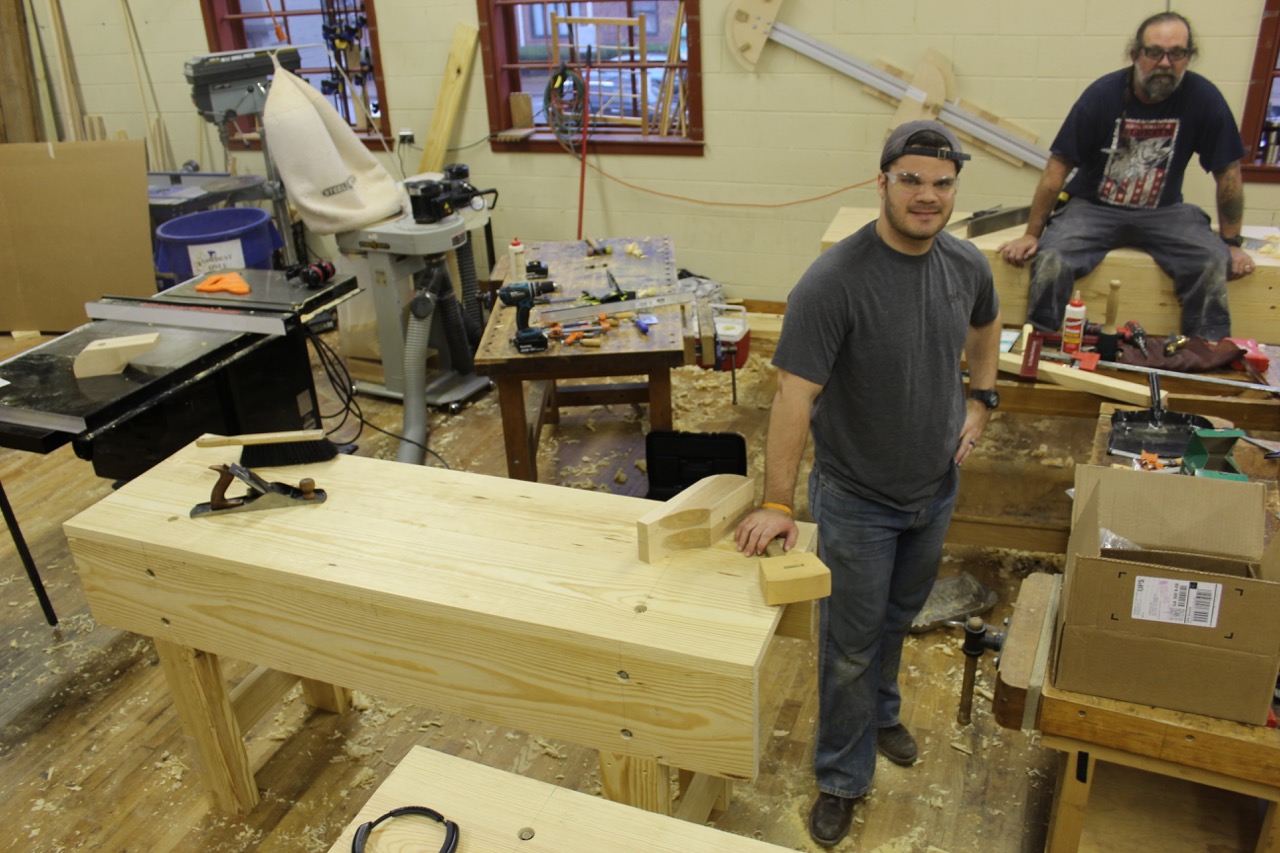
Their expressions say it all. Tired but justifiably pleased with all they've gotten done in 16 hours!

I
built a bench alongside my students (and with a little help from them
at a couple of key points). I left it on the tall side, at 36”
tall, so that it can be cut down to the right height for its new
owner. {Edit, 2019: this bench is long gone, but I still build benches one-on-one with students at my own shop. Email me if you'd like to know more.}


No comments:
New comments are not allowed.