
2015-12-13
Drying Wood in the Microwave: or, the Cursed Spoon
2015-12-07
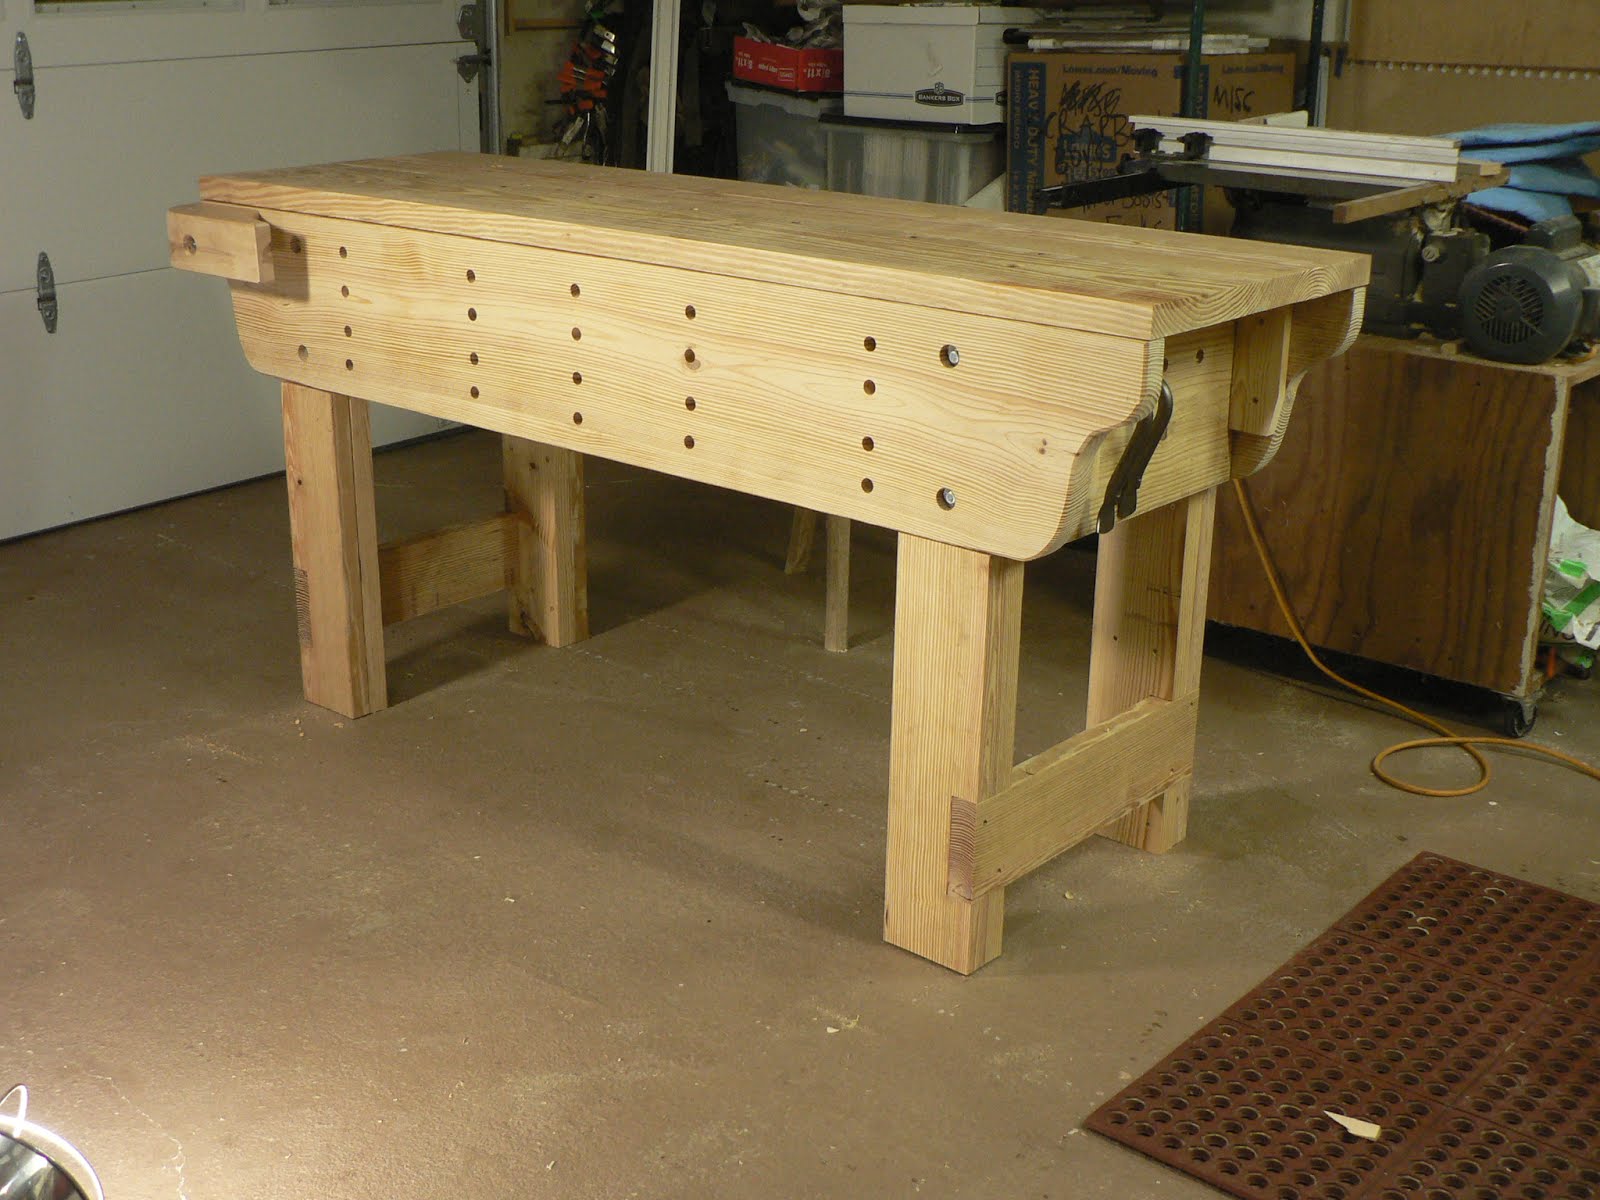
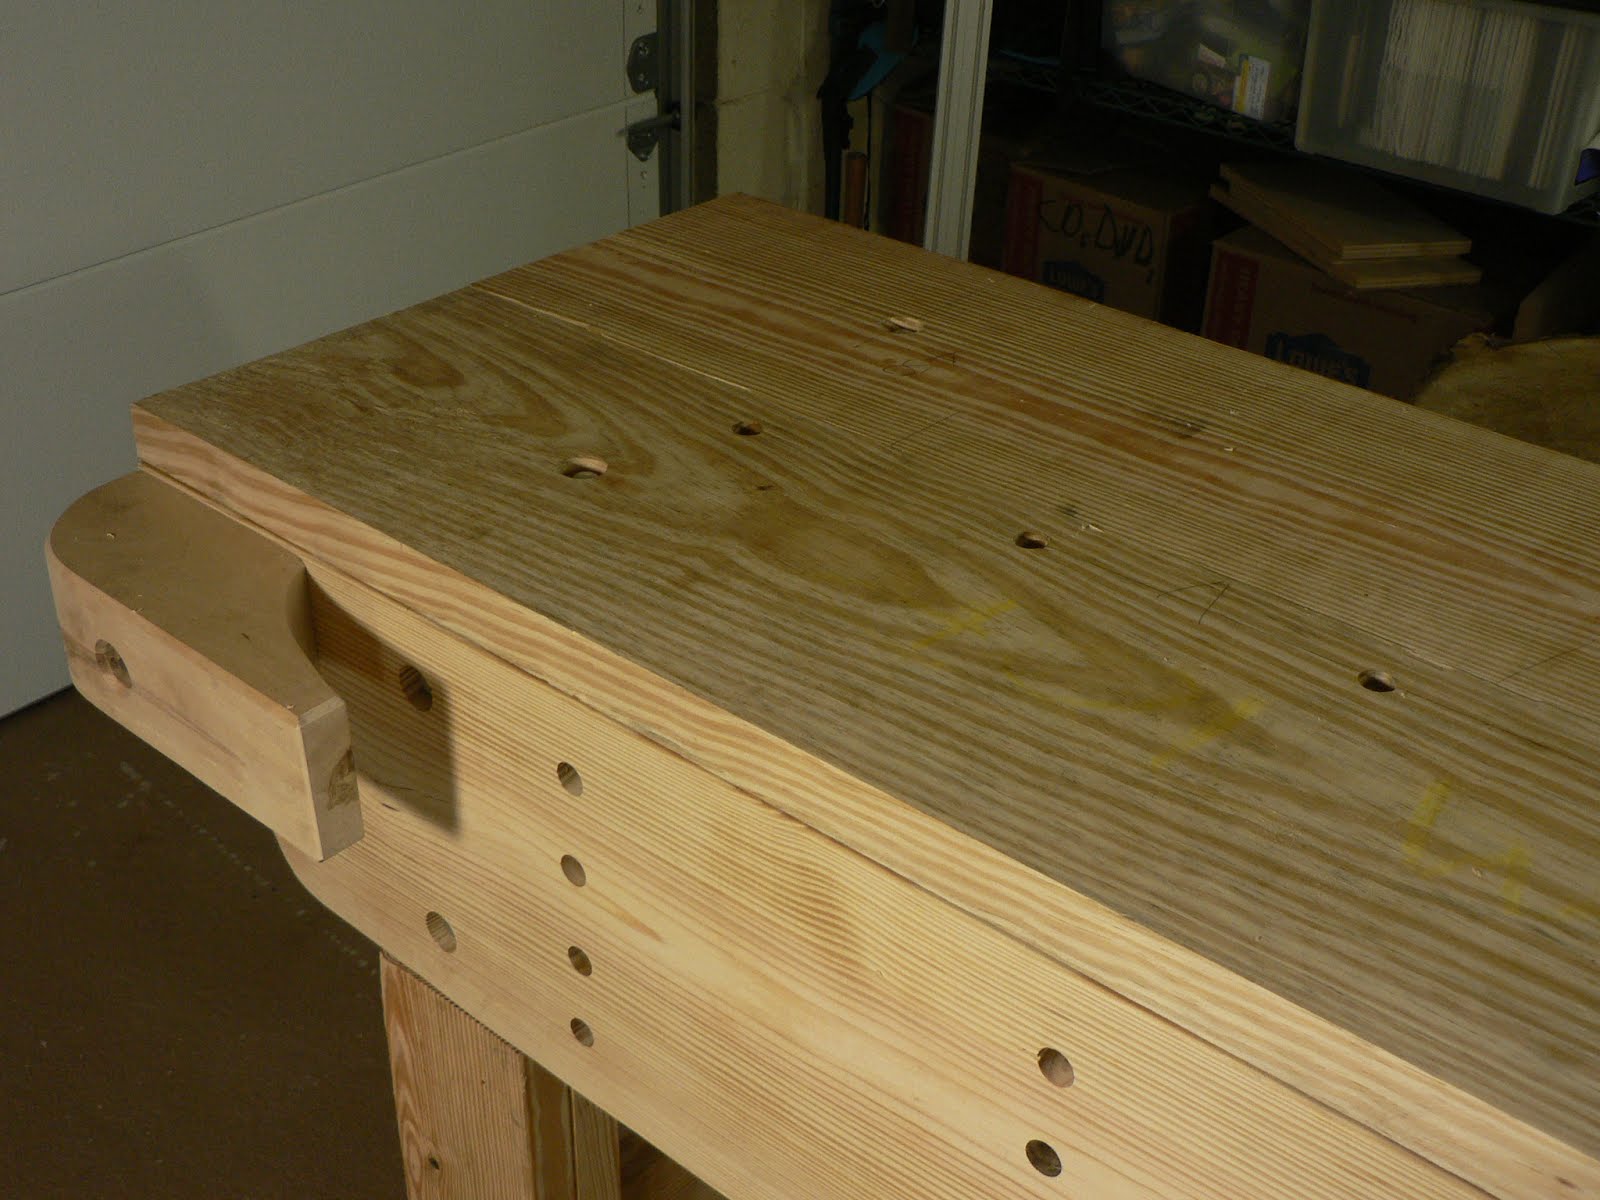
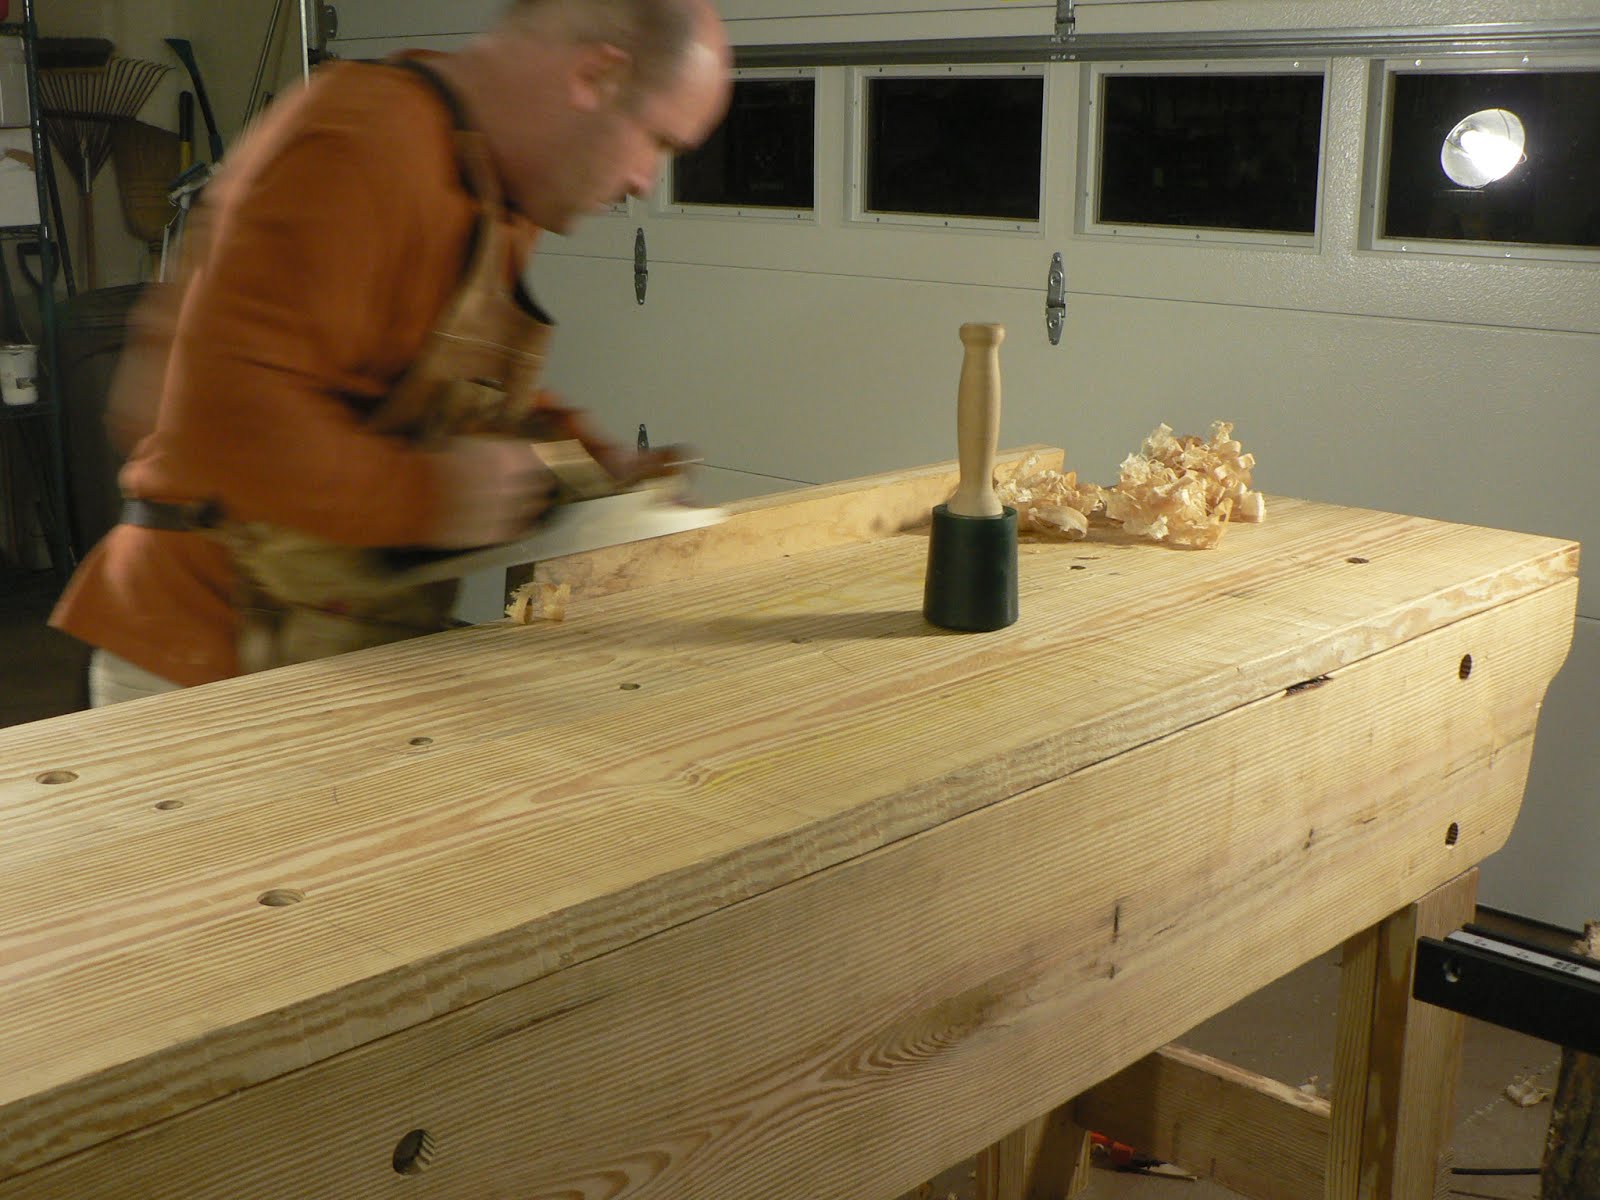
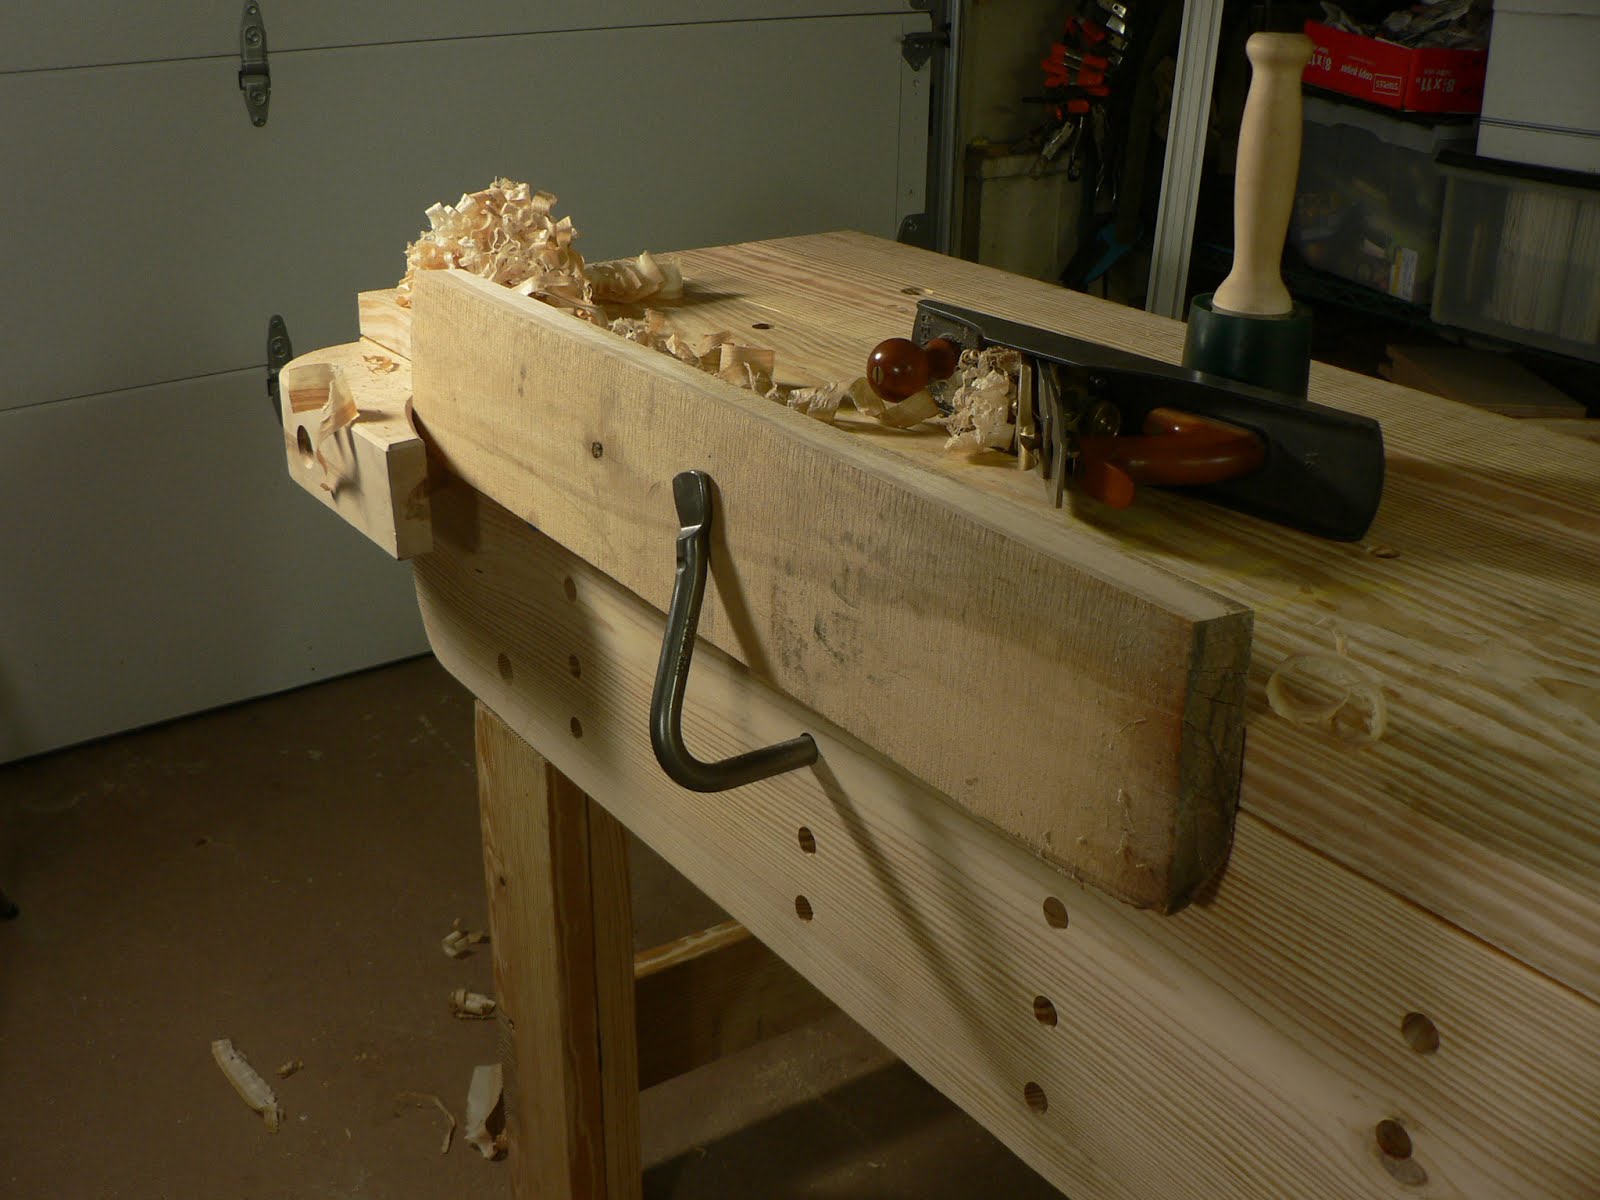
Build a Workbench in a Weekend
Recently two students and I spent a weekend doing proof-of-concept for a class to be titled the same as this blog post. In my garage shop, we built 3 copies of the "Knockdown Nicholson Bench" featured by Chris Schwarz in several of his blog posts (both at the Lost Art Press and Popular Woodworking websites), and also in the December 2015 issue of Popular Woodworking.
It succeeded beyond my expectations. The resulting bench is a real pleasure to work at, and not too terrible on the eyes (I still prefer my master's Ulmia for looks . . . I wonder if he still has it.)
Here are photos.


It succeeded beyond my expectations. The resulting bench is a real pleasure to work at, and not too terrible on the eyes (I still prefer my master's Ulmia for looks . . . I wonder if he still has it.)
Here are photos.
2015-08-02
I'm in Transition
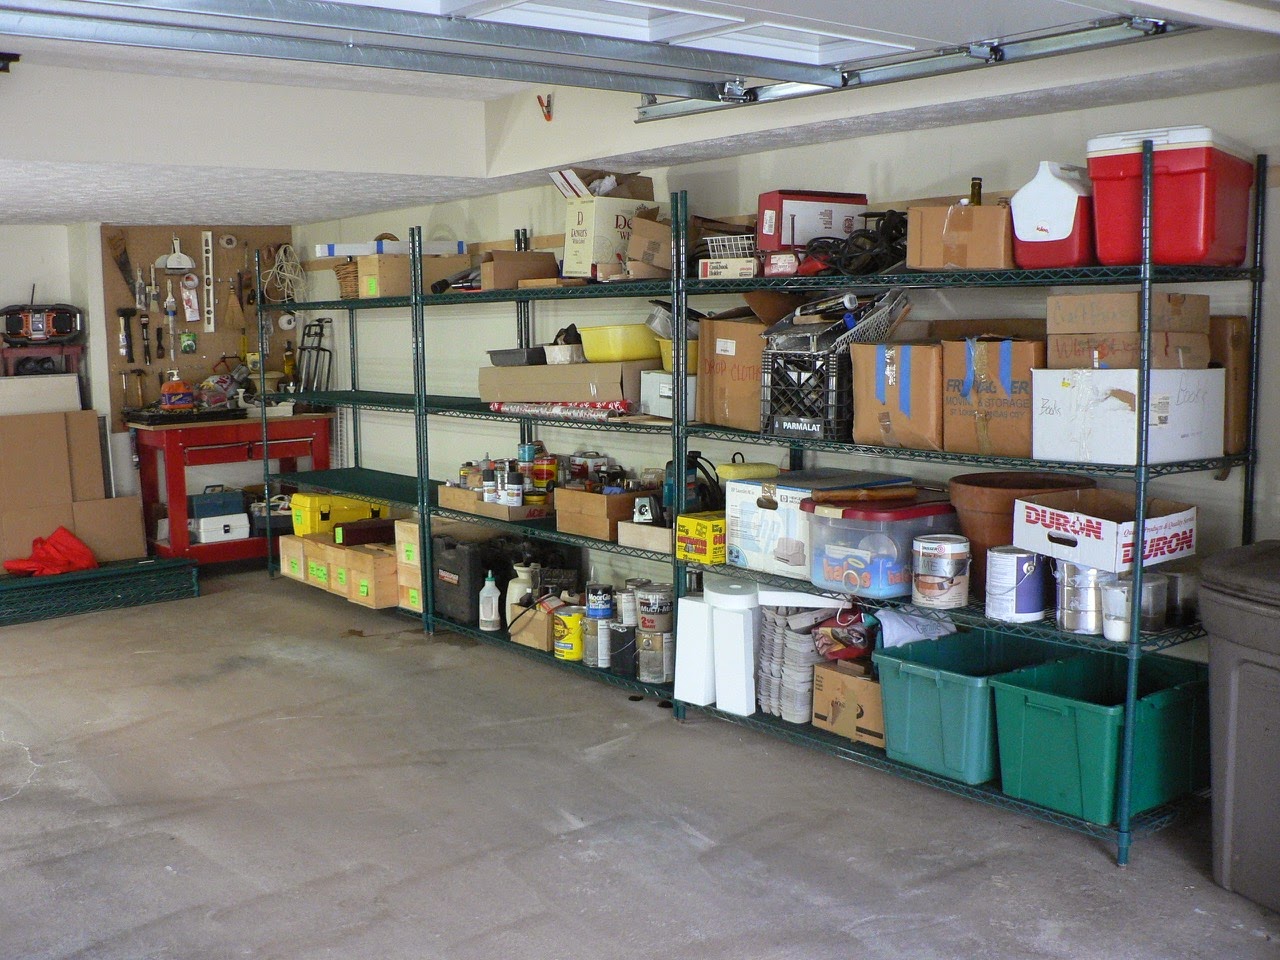
This is what my shop looks like today:

Under all the moving boxes and furniture is my shop, and parts for a built-in desk, blanks for a couple dozen spoons, a batch of half-made butcher blocks, and a cherry burl I hope to carve into bowls. But they're all buried under assorted non-woodworking items like CD's, financial records, boxes of ski pants and boots, kitchen tools, etc.
I'm in the middle of a move, or rather a series of interlocking moves including both of my sons (separately), my ex, our dog Sam, my partner Margaret's son, a woman from Rhode Island I've never met, and of course myself too. Over the past two weeks this cast of characters has been executing an intricate dance as each of us moves in and/or out of my apartment and Margaret's house. My shop, which usually occupies half of Margaret's garage, has become the staging area for much of this dance.
Like all moves, this has been tiring, frustrating, enlightening, and a wonderful opportunity to shed excess possessions. Most of it's done, but it will take me some time to unpack, organize, and start working in this shop again.
Working towards this dance of moves, and through it, has kept me from posting to this blog. I'm hoping that's coming to an end, because since my last post I have tried and learned things about a new shaving horse design, Swedish pine tar, the state of cordless tools, spoon carving, internet crafts discourse, and other things I want to tell you about. Stay tuned - - I hope I live long enough to write all these posts and more.
2015-05-10
How to Sharpen a Veneer Tape Trimmer

I
don’t use veneer tape very often. When I build frameless cabinets,
I usually face the exposed edges with solid edgebanding cut from
leftover wood, so my edges will match the drawers and doors. Once in
a while, though, it makes sense to take advantage of
2015-04-06
Bench Risers: A Simple, Versatile Woodworking Accessory
These
bench accessories are something that most woodworkers should make for
themselves. They're easy to make, and they come in handy in
unexpected ways.

I
think I got the idea from one of
2015-03-12
2015-03-09
New-Old Class
I have been teaching classes at Highland Woodworking long enough that there's at least one class which another great teacher developed, and then I taught several times after he left, and which I then quit teaching, and now we're bringing it back. But it's been so long since we've run this class, that I don't remember a thing about it!
I've forgotten how to teach this class SO COMPLETELY that I am basically starting from scratch. I have forgotten the size, except for a single dimension: 5 inches, which is the width of the apron. How wide was the top? How narrow was the taper of the legs? What was the total height? Heck if I know! I've made a few guesses and drawn a police-artist type "reconstruction" with SketchUp.
What I do know is this: it's a very handsome Shaker-style end table. Jason Howard, now at Hardwoods Incorporated, designed both the table and the class, which was very popular in the early 2000's. The mortise/tenon connection between legs and aprons was done back then via Beadlock, which I'm not sure exists any more. The class always built it in cherry, which was very much in vogue in the 90's and 00's.
This is a great beginning project if you'd like to try your hand at solid-wood furniture. It is small and simple enough to build in 3 (admittedly intense) nights, and take home in your car. If you're new to woodworking, you'll learn some important basic skills like gluing up a wide panel, a fundamental wood joint (mortise & tenon), organizing work flow, and switching between machines for brute basic shaping and hand tools for finishing touches (both shaping and surfacing).
We're doing it next week. Join us if you can, as we rediscover one of Highland's great classes! We'll be building it in cherry (old school!) but I'm not yet decided on the joinery method. Not by hand, not by Beadlock. I guess that leaves Leigh FMT, Festool Domino, or floating tenons via my home-made mortising jig.
I've forgotten how to teach this class SO COMPLETELY that I am basically starting from scratch. I have forgotten the size, except for a single dimension: 5 inches, which is the width of the apron. How wide was the top? How narrow was the taper of the legs? What was the total height? Heck if I know! I've made a few guesses and drawn a police-artist type "reconstruction" with SketchUp.
 |
| (Artist's reconstruction) |
What I do know is this: it's a very handsome Shaker-style end table. Jason Howard, now at Hardwoods Incorporated, designed both the table and the class, which was very popular in the early 2000's. The mortise/tenon connection between legs and aprons was done back then via Beadlock, which I'm not sure exists any more. The class always built it in cherry, which was very much in vogue in the 90's and 00's.
This is a great beginning project if you'd like to try your hand at solid-wood furniture. It is small and simple enough to build in 3 (admittedly intense) nights, and take home in your car. If you're new to woodworking, you'll learn some important basic skills like gluing up a wide panel, a fundamental wood joint (mortise & tenon), organizing work flow, and switching between machines for brute basic shaping and hand tools for finishing touches (both shaping and surfacing).
We're doing it next week. Join us if you can, as we rediscover one of Highland's great classes! We'll be building it in cherry (old school!) but I'm not yet decided on the joinery method. Not by hand, not by Beadlock. I guess that leaves Leigh FMT, Festool Domino, or floating tenons via my home-made mortising jig.
2015-02-11
My Day Job
Here's a quick job I knocked together for one of our instructors. This sort of work is fun for me. Instructors at the science center often need or want to do something in the classroom or lab requiring parts that aren't available off the shelf. Being able to understand what they want, then translate it into something that A) can be made, and B) will work, is key to this job. This one was easy, because as I talked with the instructor about what was needed, we were able to pretty much design it and sketch it on the spot.
So if you need a way to fasten an old pin-style poster holder to vertically mounted unistrut without having access to the end of the strut, here you go!

Next up: a portable outdoor summer cage for our tortoise & box turtles that will keep the chelonians in and the kids out!
So if you need a way to fasten an old pin-style poster holder to vertically mounted unistrut without having access to the end of the strut, here you go!
Next up: a portable outdoor summer cage for our tortoise & box turtles that will keep the chelonians in and the kids out!
2015-02-08
Gardeners Vs. Squirrels
This
weekend I needed to make a lectern to set on my desk in the office so
I can stand while I work, but I also didn't want to miss the planting
season so I made the prototype of a modular squirrel exclosure instead.
Why?
Squirrels have been sapping my will to garden. Margaret and I have enjoyed gardening the last couple of
years, but both the containers on her deck and our plot in the
community garden are ravaged by squirrels on a regular basis. It's
not just stealing produce when it's almost ripe, either. Whenever we work
in the garden, they seem drawn to the freshly-dug earth, because
within a day or two after we plant seeds or seedlings, squirrels come
through and re-dig the area. I have no idea what goes on in a
squirrel's brain, but my favorite guess is that new-tilled dirt looks
like some other squirrel might have buried an acorn there, so they
make sure there's nothing to be found. In the process, they uproot
our beet seeds or lettuce seedlings. If we were in the backwoods I could take care of this the old-fashioned way, but we're inside the city limits so I am forced to watch in impotent rage . . .
This
is quite demoralizing! So with some cheap fencing material and the
Kreg jig, here's what I did:

I brainstormed some ideas before I started.
Hanging on to Christmas Fun
I was
afraid my spoon blanks would dry out before I got to them, which is
why I was storing them in a plastic bag full of chips from the
carving process. Then I was afraid that fungus would get working on
the blanks before I got them finished up, so I decided to wrap them
in plastic and freeze them. The idea is that if the wood is below
freezing temperature, the fungus will at least slow down until I can
carve the wood. Those little white packages, lower left in my freezer, are my spoon blanks:

Will this work? I don't know, it's an experiment. I think it probably
will. I know that wood can dry out while frozen (water can
sublimate). Hopefully, double-wrapping the blanks in plastic will
keep enough water in the wood to be easy to carve, while being frozen
will slow the fungus down enough so I won't be working spalted wood
(unless I want to, of course).

I'll keep you posted!
2015-01-11
Spoons in January
From this:
To this:
In just a couple of hours. Making spoons out of wood you cut down yourself is about as close to instant gratification as you find in a woodworking project.
Subscribe to:
Posts (Atom)


