expensive, or too dear to me, to risk it without a real test!
I keep almost all my files in a drawer in my main bank of drawers facing my bench. Some of them came in nice flat plastic sleeves, including hang holes - - - you see them hanging on pegboard in the hardware store.
 |
| Some files come in packaging that also works for storage. |
Others were acquired at random, or came in packaging that was too flimsy (blister packs) or bulky (big plastic envelopes with snap closures) to use as protective storage. So I had a mare's nest of improvised plastic bags, cloth wrappings, etc. in that drawer, and unless the mess was arranged just so, it jammed the drawer above it, and I'd have to remove a drawer (or two) to rearrange the mess.
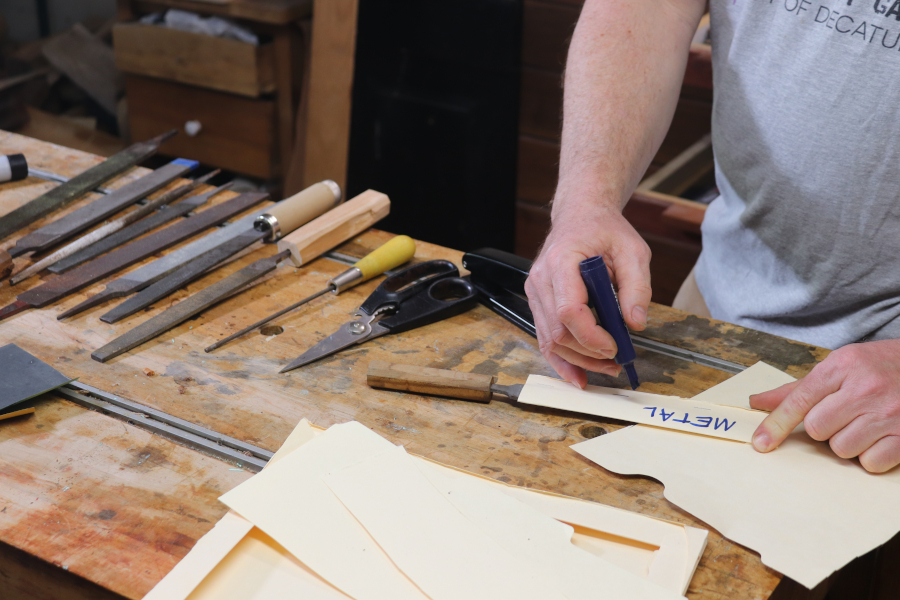
I find myself at home more than usual this spring. My workplace is shut down, and I go in twice a week to do animal care, but otherwise I'm working from home, which includes lots of time in my own garage shop. So I am doing what I can to make the space more pleasant and efficient to work in. Thursday morning this was my project: making cardstock sheaths for all the files and rasps that had been wrapped in plastic baggies, or newspaper, or cloth. In less than an hour, I went from this:
 |
| Pull open the screwdriver drawer and the file drawer comes with it. |
 |
| And it doesn't jam. |
I used manila file folders for the raw material, and as soon as the file/file connection clicked in my brain, a sentence my kids would have loved when they were about 10 was there: "File files so files don't file files." In other words, putting files (the tools) into files (the organizers) so that they wouldn't file each other (work on each other) whenever the drawer went in and out and my paws rummaged through the drawer. This homophonic drivel made me smile all morning: a symptom of COVID cabin fever, perhaps?
Here are photos of my process:
 |
| Fold the cardstock over with enough overlap to allow stapling. |
 |
| Fold over the end and staple it. |
 |
| A few staples give enough tension to hold the file securely. |
 |
| Not all the labels are complete or terminologically correct, but they'll work for me to choose what I need. |
Since I was filing, and I am a fan of David Allen's Getting Things Done, my Brother label maker appeared on the workbench before I got far. Mr. Allen suggests (among other things) using a "tickler file" to file one's "someday/maybe" ideas. I have warding files, saw files, mill and bastard files, lead floats, rat tail files, and even a couple of feather files, but no tickler file.
I will have more to say about files in future posts.
______________
*Other things we're supposed to know about files: 1) a file can be used for metal or for wood, but once it's been used on metal, you don't want to use it on wood, lest you impregnate your workpiece with metal filings. 2) don't drag the file along the work as you draw it backwards, you'll dull it! I imagine this applies far more to metal than wood. 3) always put a handle on a file. You don't want to have the tang jammed into your palm when the file comes to a dead stop in the workpiece. Even if you just ram the tang into a corncob or a scrap of wood with a hole drilled in the end, the handle adds a great deal of safety and control.


No comments:
Post a Comment
This blog is not meant to be a forum for any and all viewpoints. However, I do welcome questions or comments that help clarify the information in my posts. I try to close comments after a few months, so if you have a question about an old post, please feel free to email me directly: spirithillwoodworks@gmail.com.